Vetkoek is a traditional South African cuisine, and is a popular street food and a staple in South African culture. They can be filled with meat, tuna and mayo, syrup, curried minced meat, cheese, or basically anything you feel like using. They’re fast, easy, and very tasty.
This is where the fun begins! There are countless ways to enjoy vetkoek. Two of the most traditional methods include stuffing them with curried mince topped with sliced onions, tomatoes, and lettuce, or filling them with apricot jam and cheddar cheese. But don’t stop there, some of my favourite combinations are:
- Tomato jam
- Fig jam
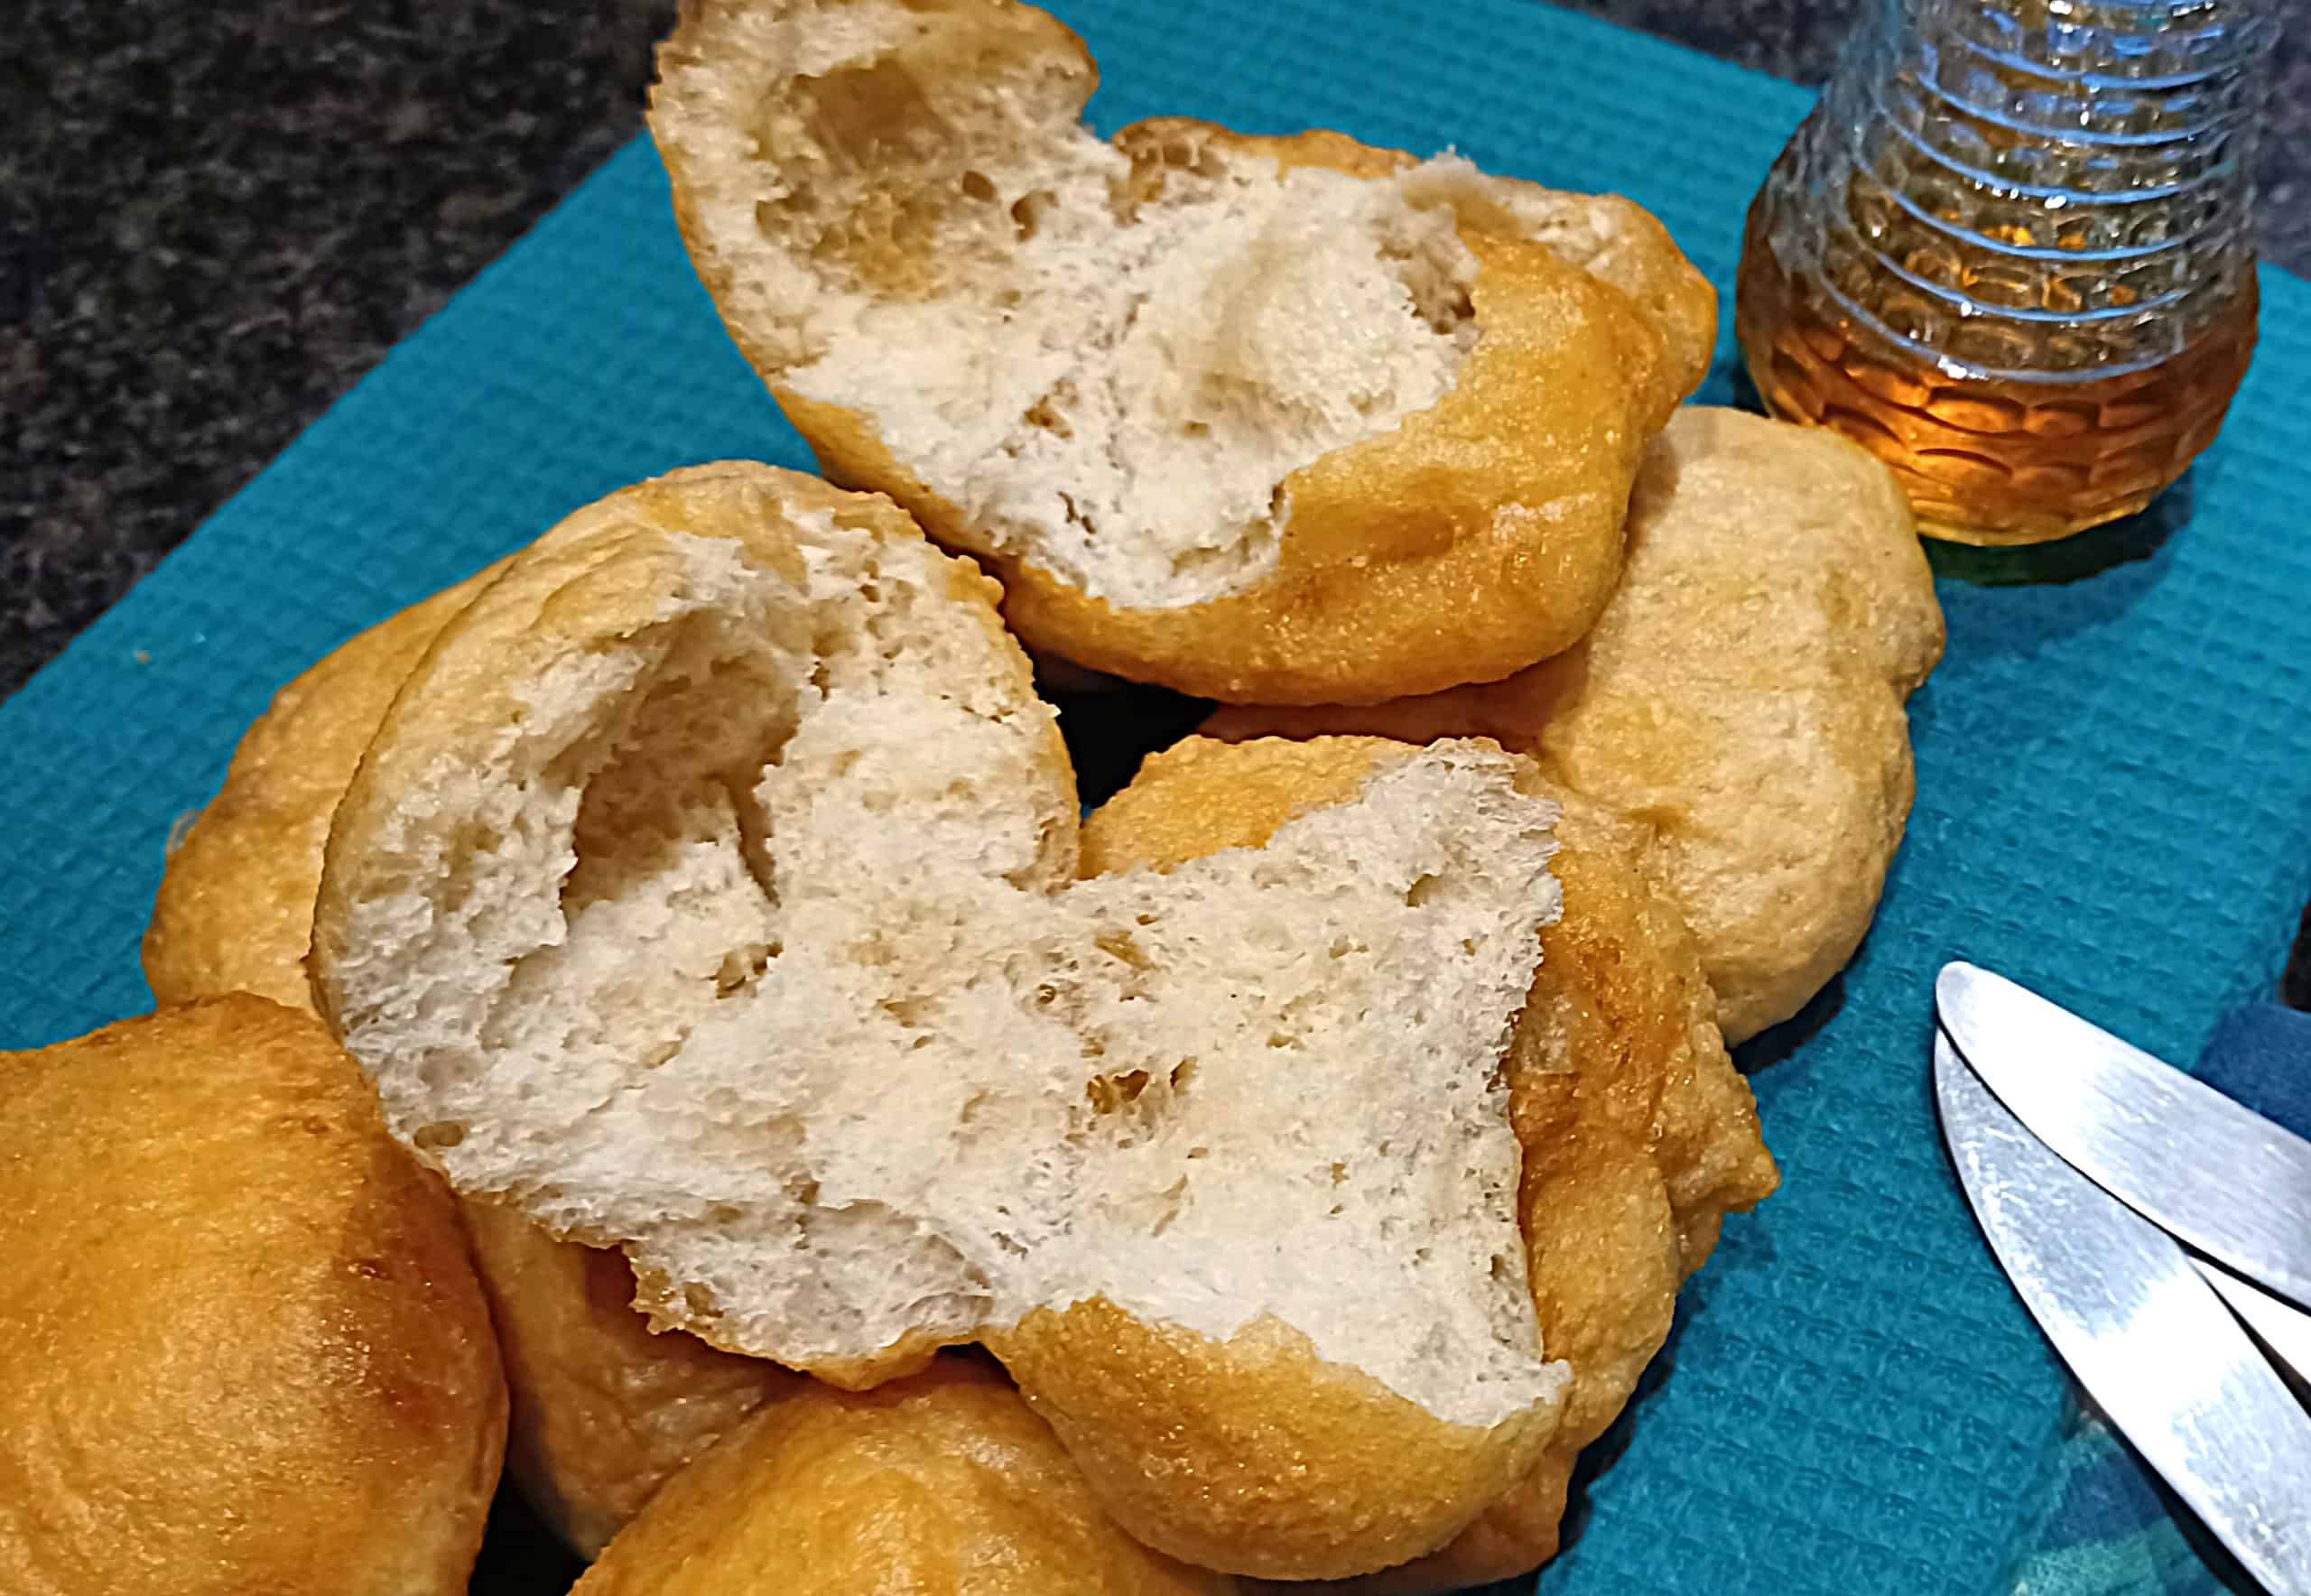
- Honey and goat’s cheese
- Smashed avocado, sliced tomato, and sliced onion
- Roll small vetkoek in cinnamon sugar once fried
- Mix chopped ham or polony into the dough before the second rise, then fry golfball-sized pieces as a snack
- Smashed avocado with sliced fatty biltong and sweet chili sauce
- Smashed avocado with crispy bacon and goat’s cheese
- Mrs Ball’s chutney with cheddar cheese
- Chicken mayonnaise
- Boerewors, fried onions with ketchup and mustard

Crispy Light Vetkoek
The perfect tip to get the best results! Try it, and you will be pleasantly surprised.
Ingredients
Two Options: 1. Ready-Made Dough – 2. Making Your Own Dough
Method: Making Your Own Dough
- 1kg cake wheat flour room temperature
- 3 tsps salt
- 1 green packet of dry yeast available at any grocery store
- 600ml lukewarm water
- 1 tbsp butter
- 750ml oil or more if needed
Instructions
Method: Ready-Made Dough
- Place dough in the fridge until ready to start baking.
- Preheat the oven to a very low temperature (70°C/158°F). Reduce heat if necessary.
- Prepare an oven tray with non-stick spray (e.g., Cook & Spray).
- Remove the dough from the fridge. Break off handful-sized portions and optionally roll each into the final Vetkoek shape.
- Place the dough portions onto the prepared tray and let them rise in the warm oven until doubled in size.
Method: Making Your Own Dough
- In a small bowl, mix lukewarm water and yeast. Let it stand for about 5 minutes until the yeast softens and bubbles slightly.
- Sift flour and salt together in a large bowl.
- Pour the water-yeast mixture over the flour. Butter your hands and knead for 5-7 minutes until the dough is smooth and elastic. Knead in any butter residue from your hands.
- Cover the bowl with a clean cloth and let the dough rise in a warm place until doubled in size (about 45 minutes).
- Once risen, knock the dough down and roll into a log. Cut into equal pieces and roll each into a ball.
- Place the dough balls on a well-greased tray and cover with greased plastic. Let them rise in a warm place for 20 minutes.
Cooking the Vetkoek
- Heat the oil in a deep fryer or large saucepan to 350°F (175°C).
- Add one tablespoon of butter and stir (Best TIP ever).
- Test the oil temperature as previously described.
- When the oil is heated to the correct temperature, gently place a dough ball into the oil, moving it away from you to avoid any splattering. Continuously spoon oil over the dough while frying. Fry for about 3 to 4 minutes per side or until golden brown.Based on the size of your pan, you can add up to three dough balls without significantly lowering the oil’s temperature. As soon as the vetkoek turns a golden brown on one side, use tongs to carefully flip it over. The vetkoek is ready when it is golden brown on both sides and emits a hollow sound when tapped. Repeat this prosess for remaining dough.
Knocking Back the Dough
- You might wonder why, after allowing your dough to rise so beautifully, you would then deflate it once it has doubled in size. For most breads, an even texture is desired. By knocking back the dough, you burst the air pockets that have formed, ensuring that you won't end up with large air bubbles and huge holes inside your bread. Even though some people prefer a hollow middle in their vetkoek, the dough still needs to be knocked back.
Forming and Second Rise
- I like to pinch off a piece of dough about the size of a tennis ball. I then form it into an oval shape by hand, lightly cover it in flour, and leave it on an oiled or floured surface for about twenty minutes, until it has doubled in size again.Happy baking! Enjoy the perfect texture in your vetkoek.
How to Bake Hollow Vetkoek
- If you preferhollow vetkoeks over the beadier ones made with the deep-frying method mentioned earlier, follow these steps. Hollow vetkoeks provide more room for delicious fillings. Use the same recipe, but when it comes to the deep frying, flatten the vetkoek slightly before carefully dropping it into the hot oil. Usea metal spoon to gently pour some of the hot oil over the top of the vetkoek. This technique will ensure that the vetkoek puffs up, creating an air pocketinside.